


Con Costumes 2026

Every year we do our best to attend Rose City ComicCon. And every year, my girls eagerly select a costume to wear at the con. This year they chose Star Wars costumes.
My younger daughter requested Queen Amidala's dress from the parade scene at the end of The Phantom Menace, and my older daughter asked for an R2-D2 outfit. I love how they never dream small.
The Queen Amidala Dress
After a quick glance at the Rebel Legion website to read over how they described the dress, I headed for my material bins. Thankfully, I have a lot of them. (Yeah... somehow they just keep multiplying...Who knew material could possess Tribble DNA?) I found a nice piece of white satin that was just the right size to use for the dress and front sash, a white sheer to use for the sleeves, and found a large quantity of white satin lining that would work perfectly for a lightweight cape.
Patterning off of one of my daughter's existing dresses, I constructed the simple shift-style dress, with a simple button closure in the back.
I used some interfacing to help give the sash some stiffness then sketched out the design in pencil. I used a black fine-tip sharpie to darken the design so it would be visible and used a yellow marker to color in the design. (The sharpie and markers did bleed a little on the fabric so the lines were not as crisp as I would have preferred, but it wasn't noticeable unless you were right up close to the design).
For the cape, I made a simple three sectioned base with a drawstring channel at the top for the tie. Then I added ruffles. Lots and lots of ruffles. I had a peach sheer material, some white sheer material, and more white satin lining material. I cut strips (2 inch width, 4 inch width, and 6 inch width) in the various fabrics and gathered them into ruffles. (Even though the cape fit a 6yr old, it still required about 10 yards of material...so many ruffles). Then I laid the ruffles out across the body of the cape and sewed them down (2in strips at the top, 6in strips at the bottom). The cape tie I made long enough so the cape could sit over her shoulders, then wrap around under her arms, and tie behind her back. She loved the fluffy cape.
I found some silver string that I knotted together in macrame fashion to be the forehead decoration. (I made it with looped ends so that I could easily secure it around a small section of hair. ) It was simple and looked great from a distance.

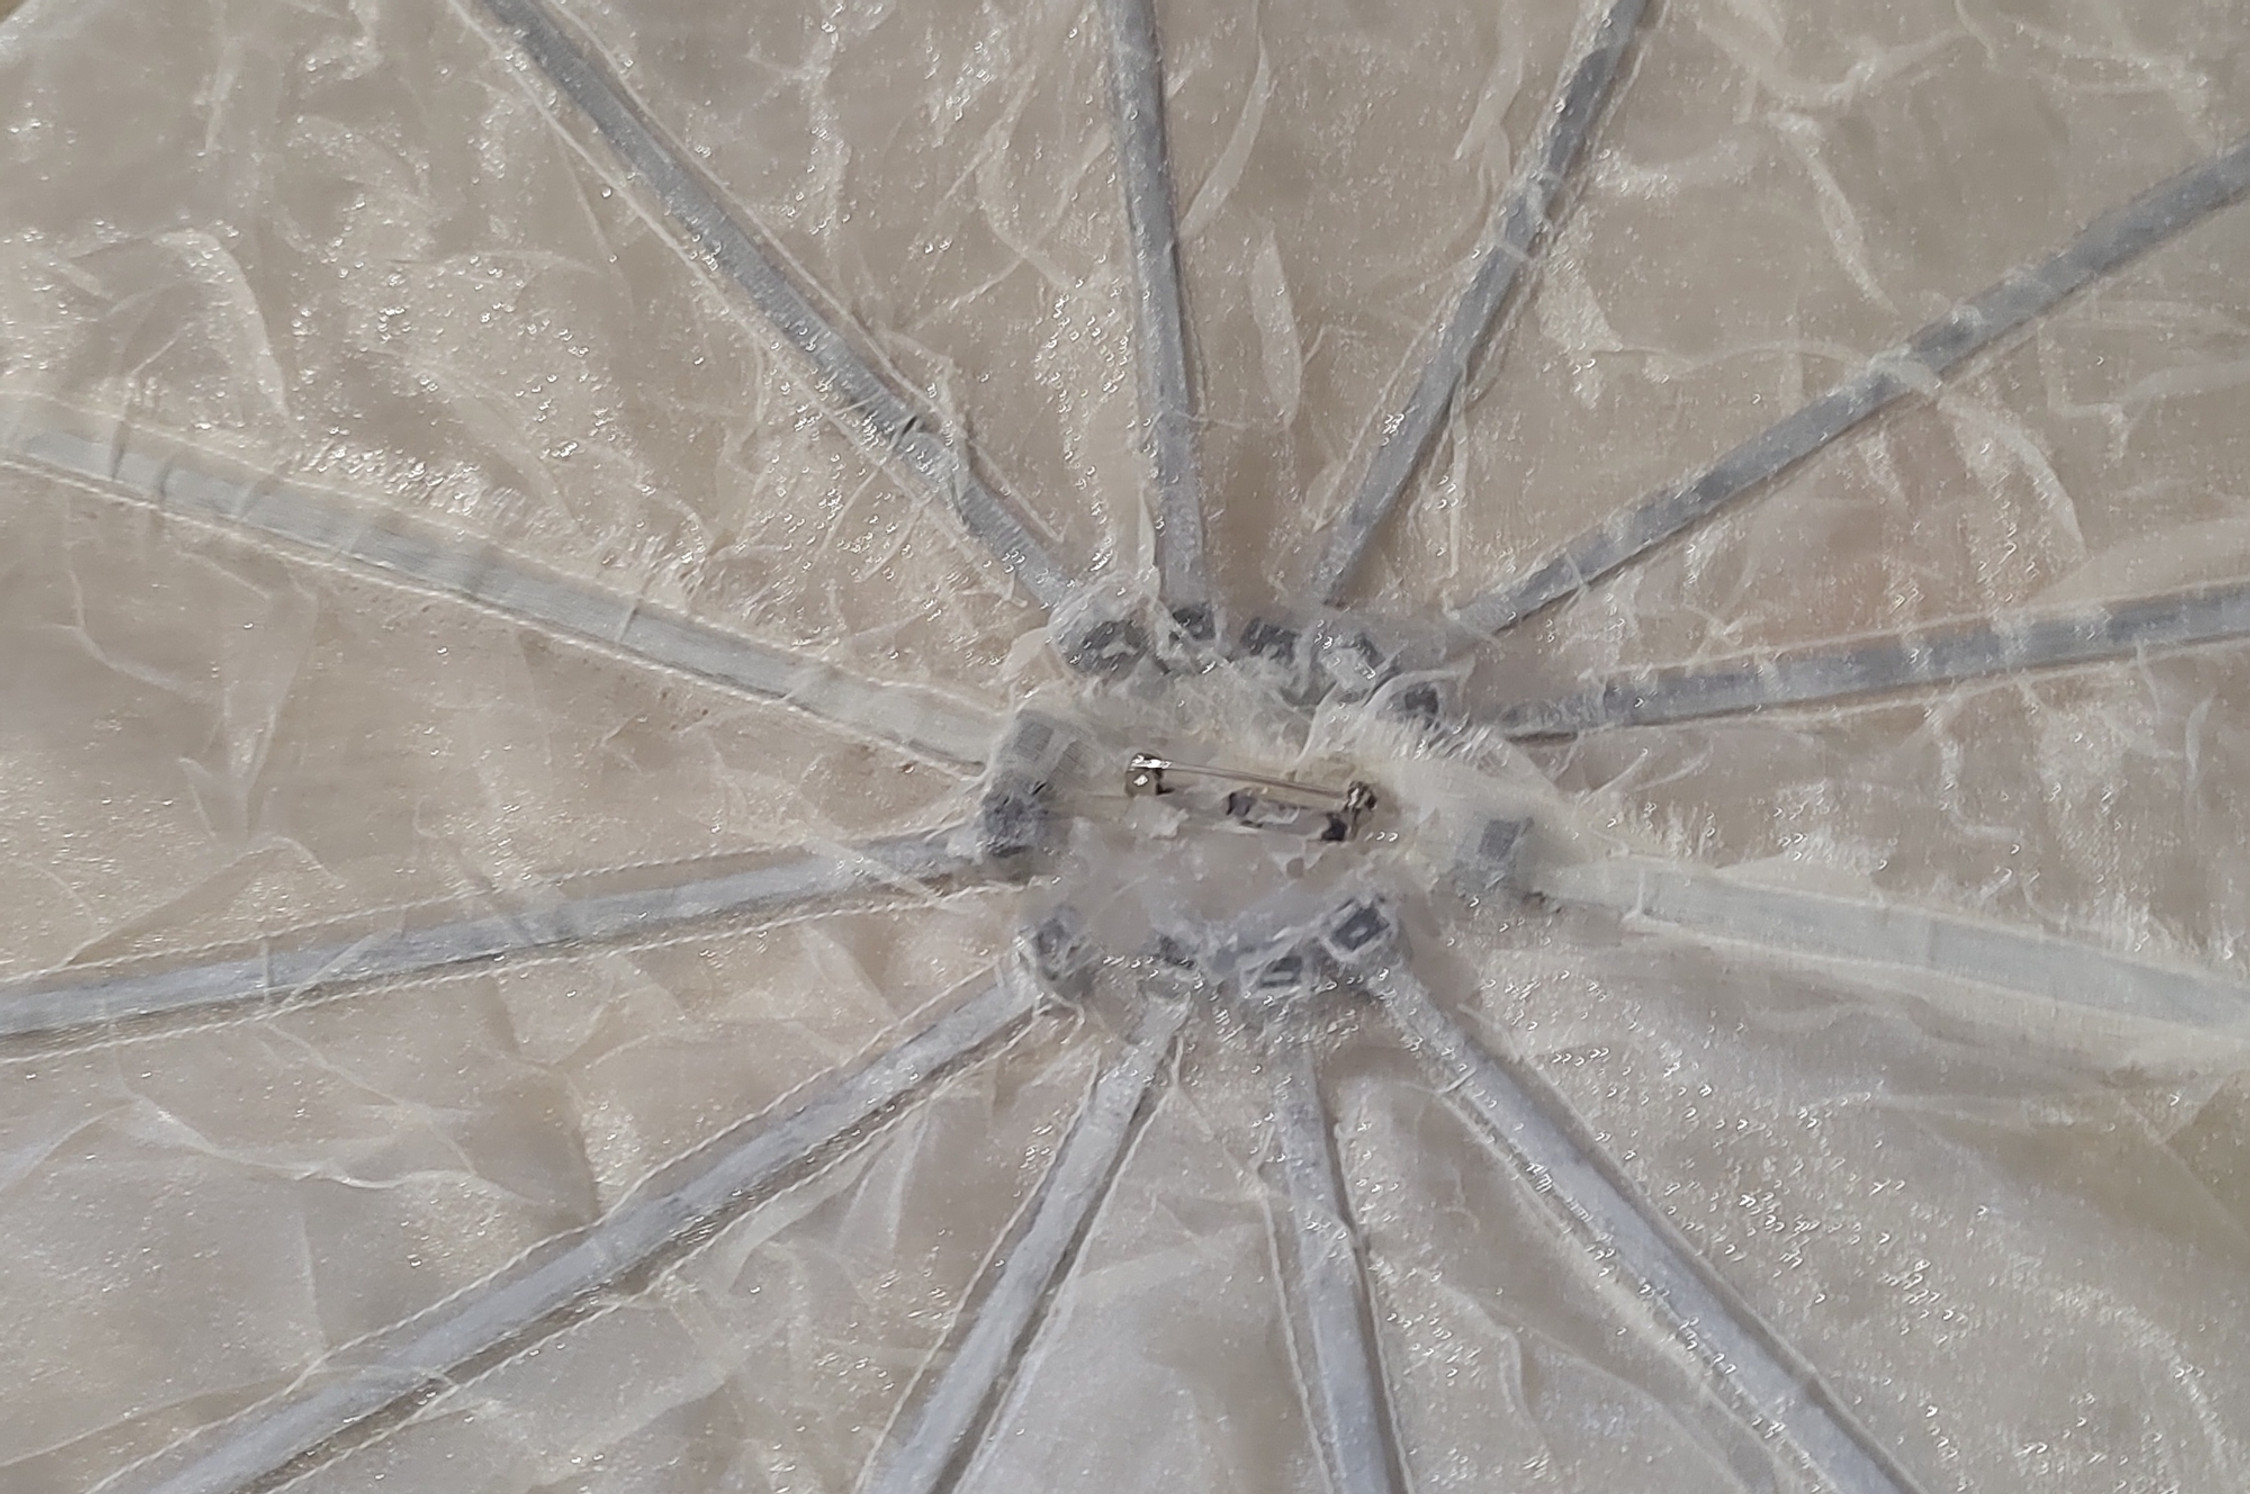
Last, I tackled the fan (or the umbrella as my daughter kept calling it). I found some more sheer material that had a stiffness to it and cut out one circle and two half circles (making sure the half circle had a slight overlap). Next, I found some long zip ties. Mine were black, so I ended up painting them silver with some acrylic paint. Then I measured out where the zip ties would sit around the circle. l sewed the sheer material together, leaving gaps so the zip ties could stick out of the edge of the circle. Next, I sewed channels for the zip ties and slid the ties into the material.
Now to make the fan stay upright. Using a scrap of paper, I measured a circle large enough to sit at the center of the fan that all the zip tie heads could be glued to. Then I traced my circle pattern onto the bottom of an old plastic bead container I found around my house. (You could also use the bottom of a frosting container) Mine ended up being about 3inches in diameter. Using an exact-o knife I cut out the circle and sanded the cut edges with a piece of rough sandpaper I found in our garage. The sanding ensured I didn't have any sharp edges that might scratch my daughter or snag the material.
I used hot glue to secure the zip tie heads to the plastic circle. To attach the fan to the cape, I found a pin and hot glued it to the center of the plastic circle.
She had so much fun and received lots of compliments on how great she looked.
R2-D2 Dress
Making a robot dress was quite the challenge. My daughter had originally wanted a stiff, box-like costume. Thankfully, we were able to convince her that a dress style would be far more comfortable and practical for an all day con.
First I looked up several patterns for 1960's shift dresses with long, wide sleeves. This gave the dress a boxish shape, without having to be uncomfortable. Then back to the material bins I went. I found some silver satin, white satin, and royal blue satin. (Apparently, I love working with satin material. And I'll be honest, I have a lot of it).
After cutting out my material, I sewed a strip of blue to each sleeve. I also opted to do a slight puffed sleeve to give the sleeves a slight bulk that would match how R2's legs stick out from his body.
I found several patterns with an empire waist look, which I thought matched R2's domed shape pretty well. Then I started cutting out and attaching the blue squares to the top silver bodice. From there, I attached the longer white skirt that would be the main body of the costume and added the sleeves.
Then I cut out and top stitched on the details for the bottom part of the skirt. I opted to draw out in pencil all the box details across the white, then top-stitched over each line with a dark gray thread so that when I washed the costume I wouldn't lose those lines.
For the top of the dome, I used a baseball cap to pattern out a quick hat. I top-stitched on some blue squares and added an elastic so it wouldn't fall off. The hat was her favorite part of the costume.
The completed dress came down to just above her knees. She paired black leggings with the costume and when she knelt and leaned her arms back, she really did look like R2-D2. Apparently, (if you ask my daughter) the next step will be finding a way to add wheels to the costume.
All in all, she had a great time and received lots of compliments on her cool costume!


Comments